Sarasota Link’s Guide: How to Carve a Pumpkin for Halloween
Halloween is an exciting time of year filled with fun, costumes, and, of course, pumpkins! Carving pumpkins is a cherished tradition that allows everyone to express their creativity and get into the spooky spirit of the season. Whether you’re a seasoned pro or a novice, here’s a step-by-step guide on how to carve the perfect Halloween pumpkin.
Choosing the Right Pumpkin
The first step in your pumpkin-carving journey is selecting the right pumpkin. Look for one that has a smooth surface and a sturdy stem. Ideally, it should be free of bruises or blemishes. Depending on your plan for carving—whether you want a traditional jack-o’-lantern face, a complex design, or a simple pattern—choose a pumpkin that fits your vision. Larger pumpkins are easier to carve, while smaller ones may be better for intricate designs.
Tools You’ll Need
To carve your pumpkin, you’ll need a few essential tools:
1. **Cutting Tool**: A serrated knife or a pumpkin carving kit is ideal for cutting through the thick skin.
2. **Scoop**: A large spoon or a pumpkin scoop works well to remove the insides.
3. **Marker**: You’ll need a washable marker to sketch your design before cutting.
4. **Stencils (Optional)**: For those who prefer to use a pattern, print out some Halloween-themed stencils.
Preparing the Pumpkin
Once you have your pumpkin and tools, it’s time to prepare:
 1. **Cut Off the Top**: Use your cutting tool to create a circular opening in the top of the pumpkin. Make a slight angle to prevent the lid from falling inside. This will be your access point to scoop out the insides.
2. **Scoop It Out**: Remove the seeds and pulp from the inside of the pumpkin. This step is essential, as a clean interior allows for easier carving and helps the candle or light to shine through better. Don’t forget to save the seeds for roasting later!
#### Sketch Your Design
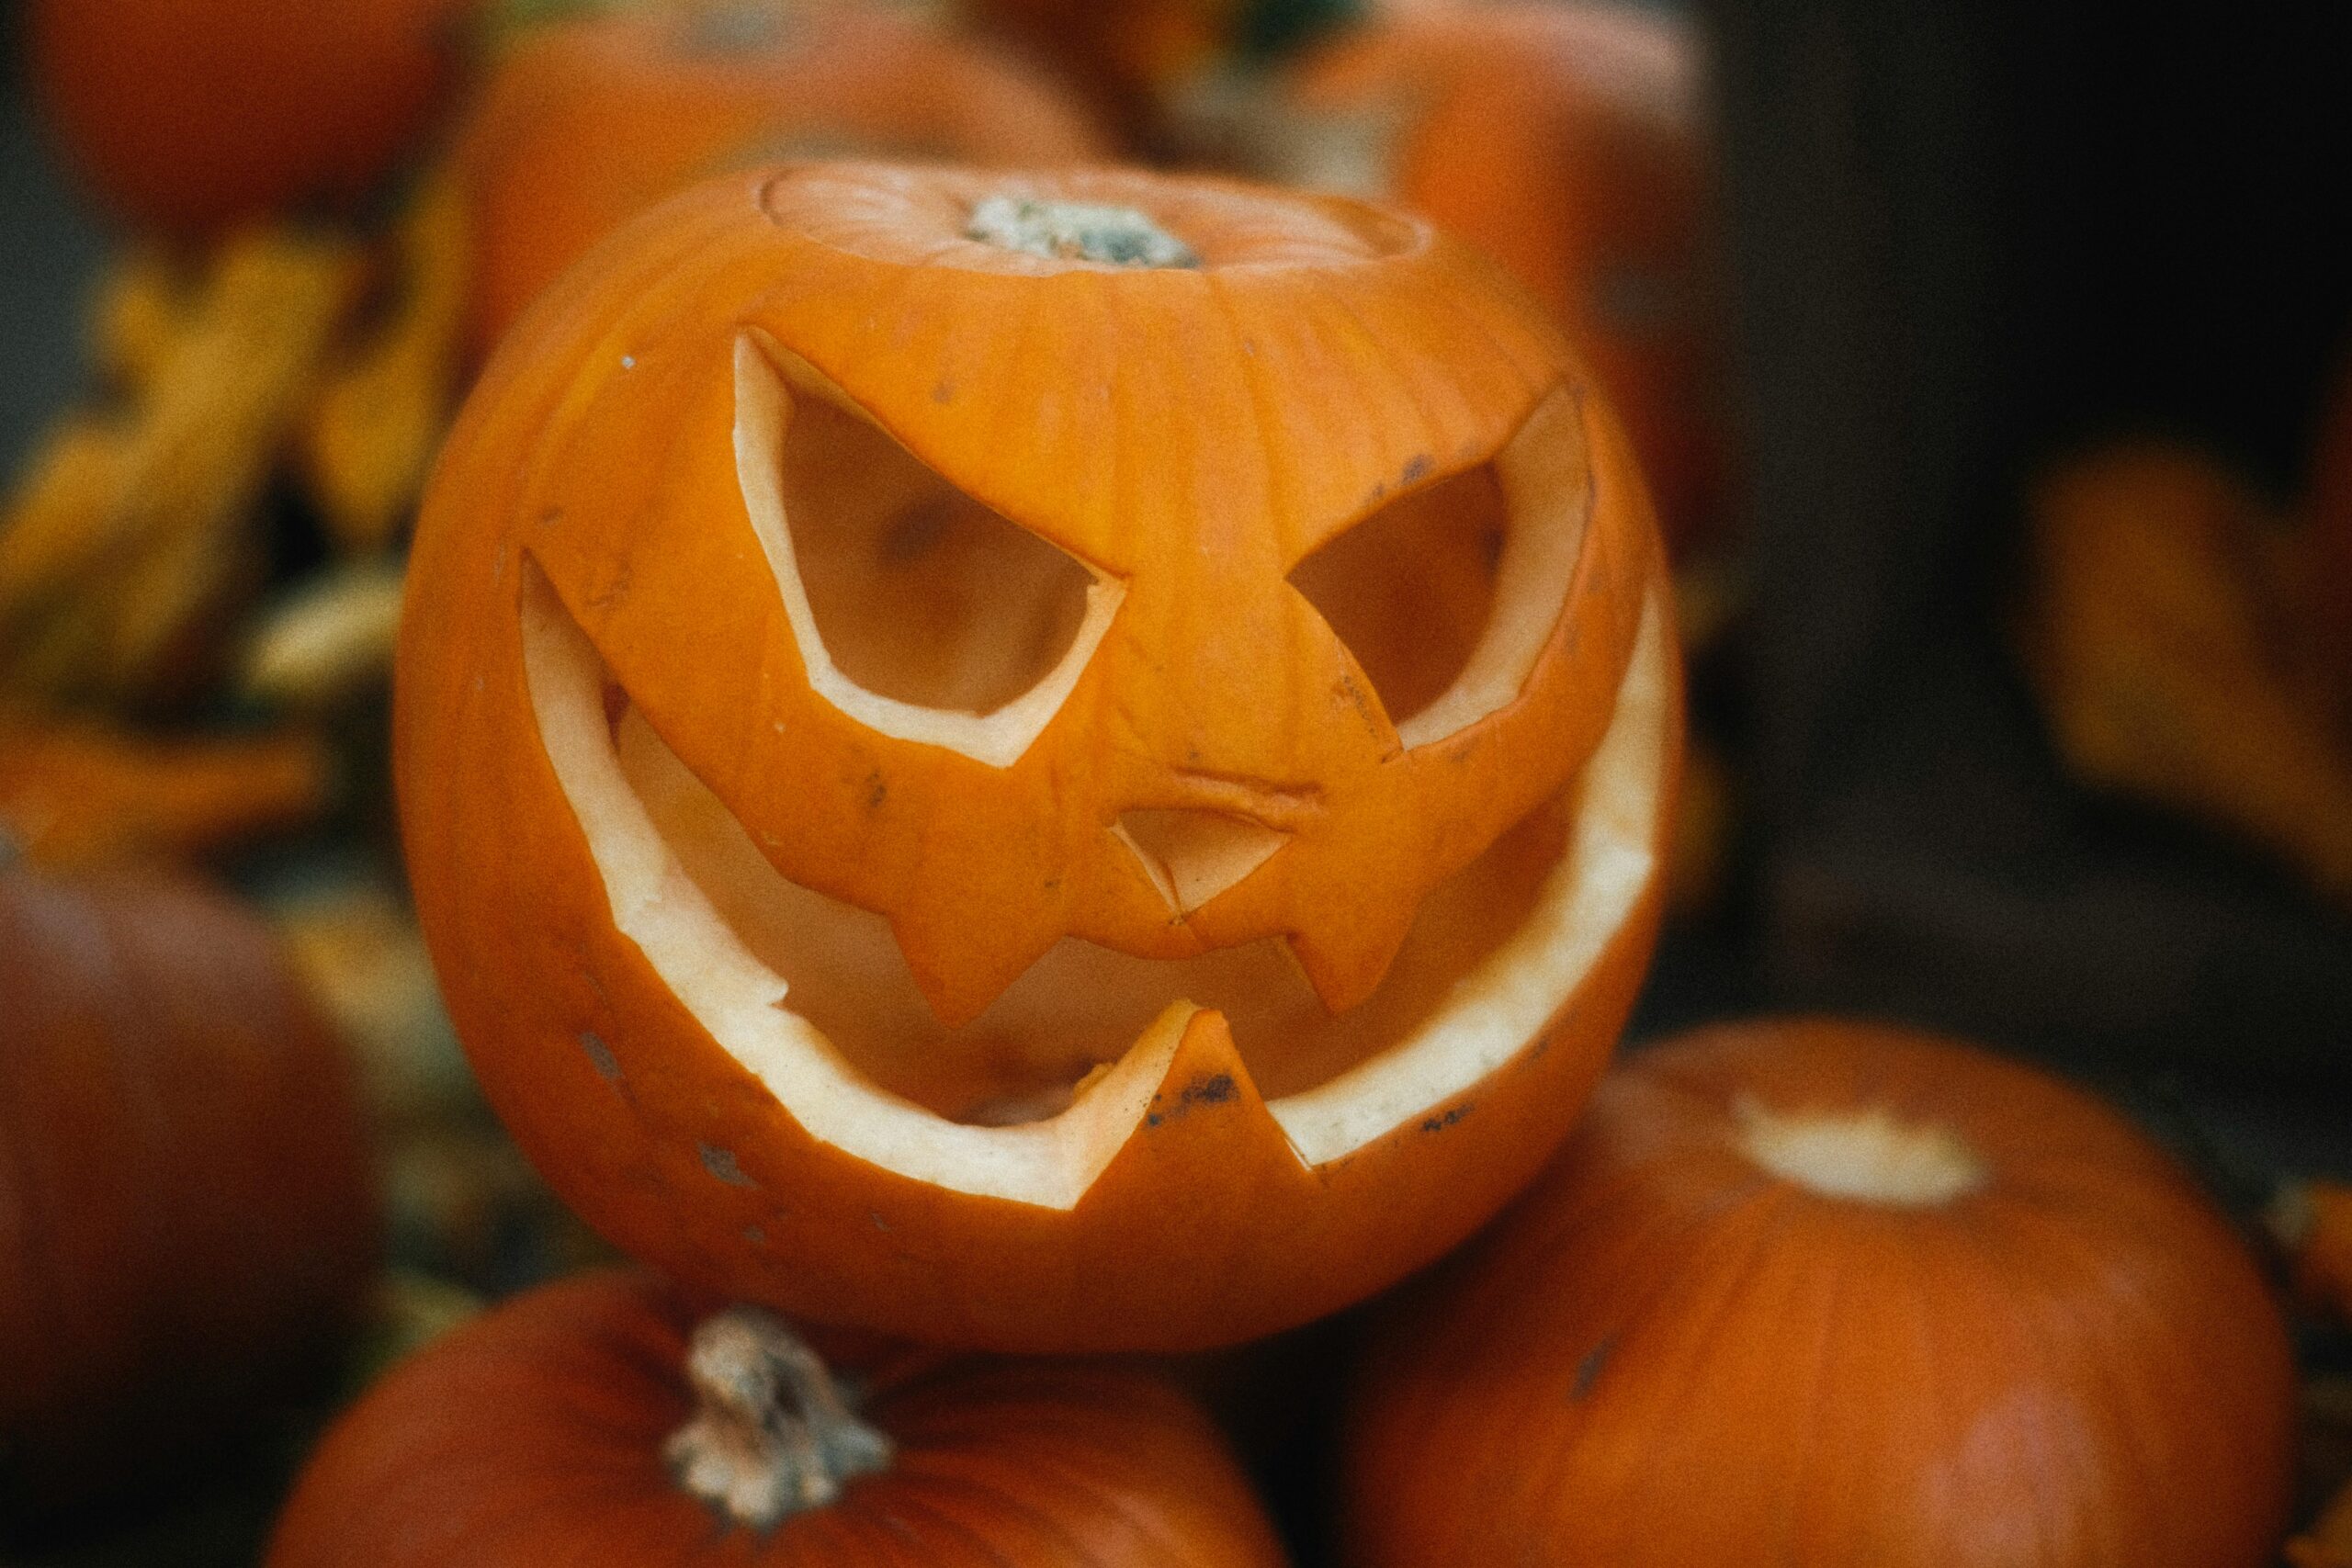
Before diving into carving, it’s helpful to sketch your design onto the pumpkin. Use your washable marker to outline your pattern or stencil. If you’re feeling adventurous, you can freehand your design. Popular designs include traditional faces, ghosts, bats, or even intricate scenes.
#### Carving the Pumpkin
Now comes the fun part—carving! Carefully use your cutting tool to follow the lines of your design. Take your time; it’s better to go slowly and ensure precision than to rush and ruin your pumpkin. If you’re carving intricate designs, consider using smaller tools for added control.
#### Lighting Your Pumpkin
 Once you’ve completed your carving, it’s time to make your masterpiece shine. Most people opt for a candle or LED light. If using a candle, place it inside the pumpkin, and ensure the lid is secure but allows for ventilation. If you’re using an LED light, which is safer and longer-lasting, make sure it’s placed securely at the base of the pumpkin.
#### Displaying Your Creation
Find the perfect spot to display your pumpkin—perhaps on your porch, window sill, or in your front yard. Don’t forget to show it off to your friends and family!
Carving pumpkins can be a delightful family activity that brings everyone together. Whether you keep it simple or go for an elaborate design, the most important aspect is to enjoy the process and have fun. Happy Halloween from Sarasota Link to you!